This section of the user guide covers the features for viewing, annotating and collaborating on a document.
Viewing and Menu Options
The screenshot below shows the opening default view of a document with the white arrow in the middle of the screen to expand the feature pane.
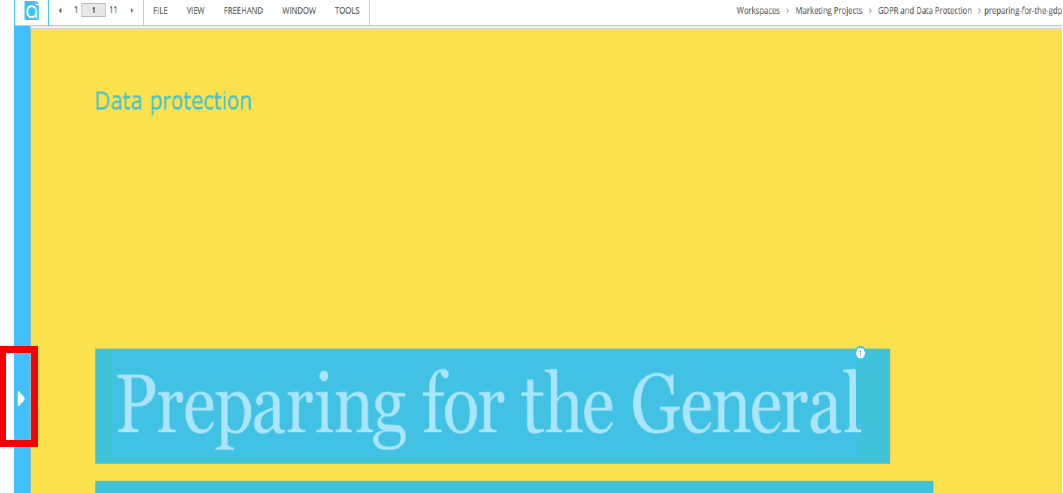
This pane allows the user to select between: Chat, Notes, Thumbnails and Show Users.

The ‘Thumbnails’ link in the toolbar shows all the pages; click on a page to open it. If there are any notes on a page you'll see an orange 'N' icon at the top, making it easy to find the pages with comments:

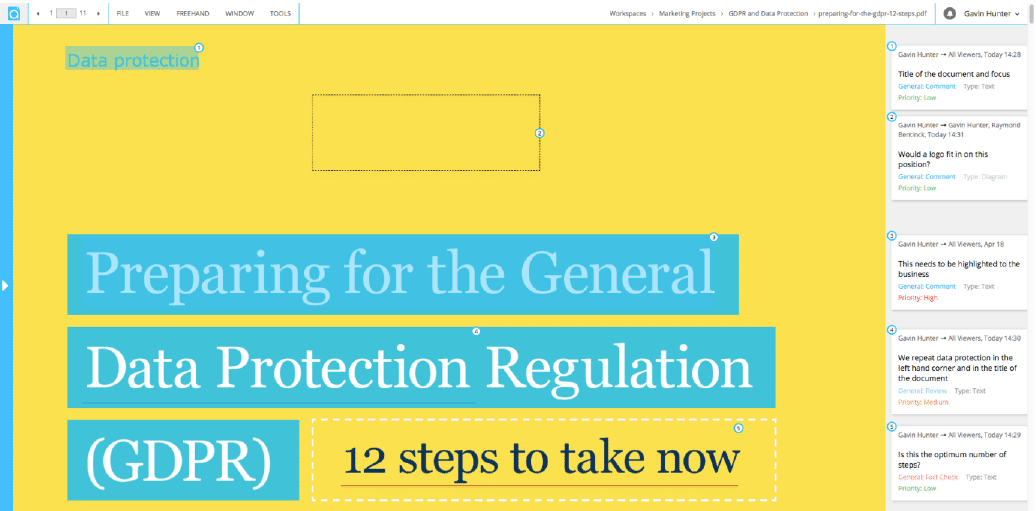
The ‘Window’ menu includes zoom, fit and rotate controls - and in the ‘View’ menu you can choose where to show the notes; in boxes over the document, at the side, at the bottom or hide notes. Here we show notes at the side:
Annotation options
The default annotation option is text selection - just highlight text to annotate. - In addition to highlight, options for text include: underline, insert, strikethrough or edit(which copies the highlighted text into a note).
Annotate has a powerful and configurable note tagging function with categories, the screen capture shows the set-up options and the edit of a the ‘comment’ tag.
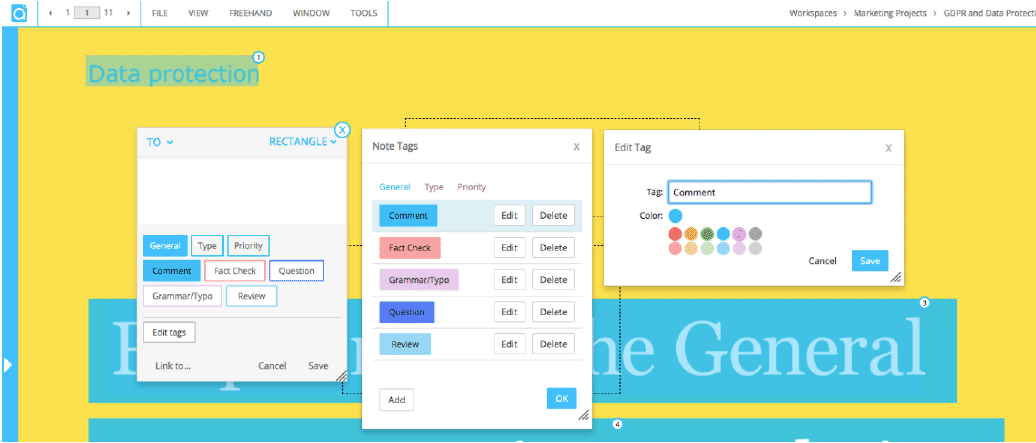
If you drag on the whitespace away from any text (e.g. used for a diagram or image), it will make a 'rectangle annotation' by default. Other options are arrow and circle, a circle is shown in the screen capture below.
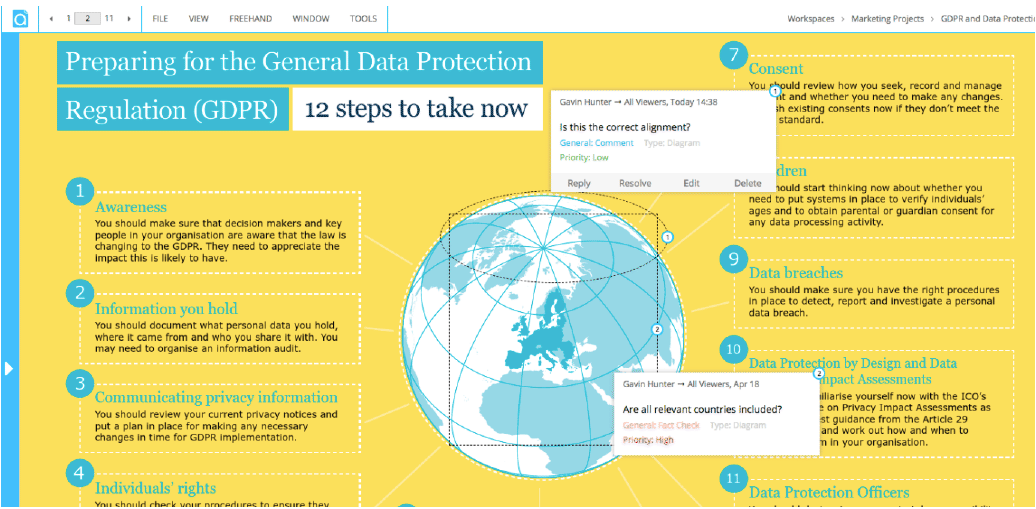
Note index and filter on a single document
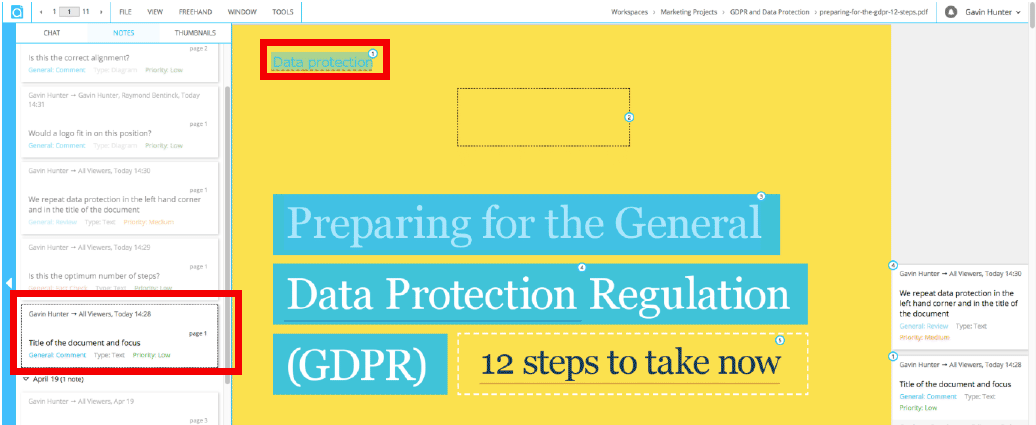
The 'Notes' button in the toolbar takes you to an index of all the notes on the document. Clicking on a note will take you to the corresponding place on the preview page.
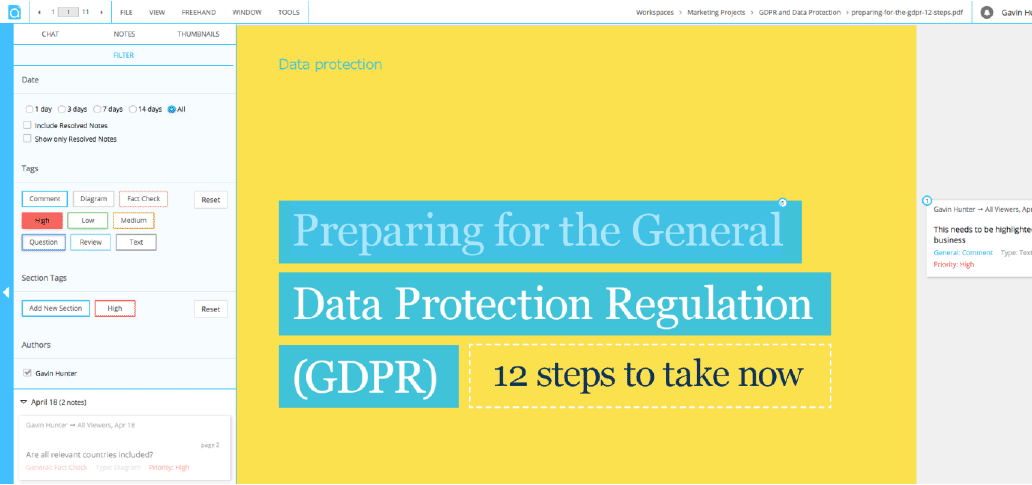
Using the ‘Notes Filter’ it is possible to show only notes with the selected tag, below ‘High’ has been selected.
Export Notes to PDF
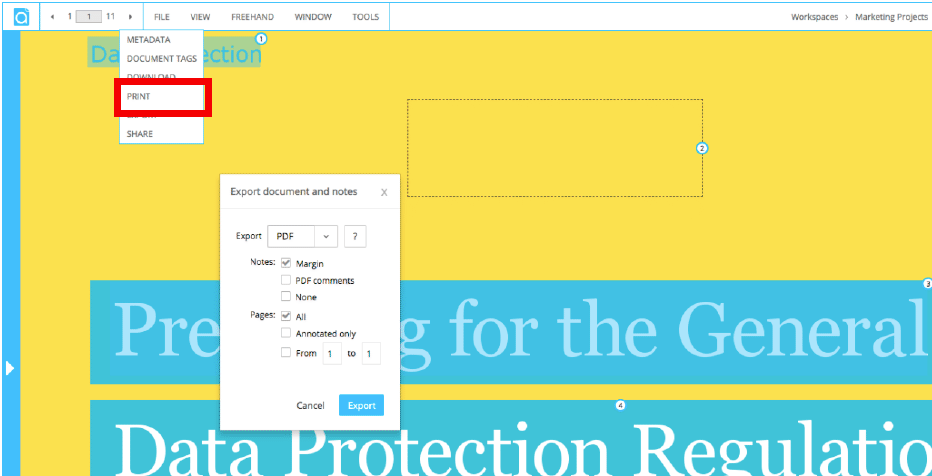
The 'Print' option can make a pdf with the notes in the margin suitable for printing or archiving:
In-Document Chat
The Chat feature allows users to chat within a document.
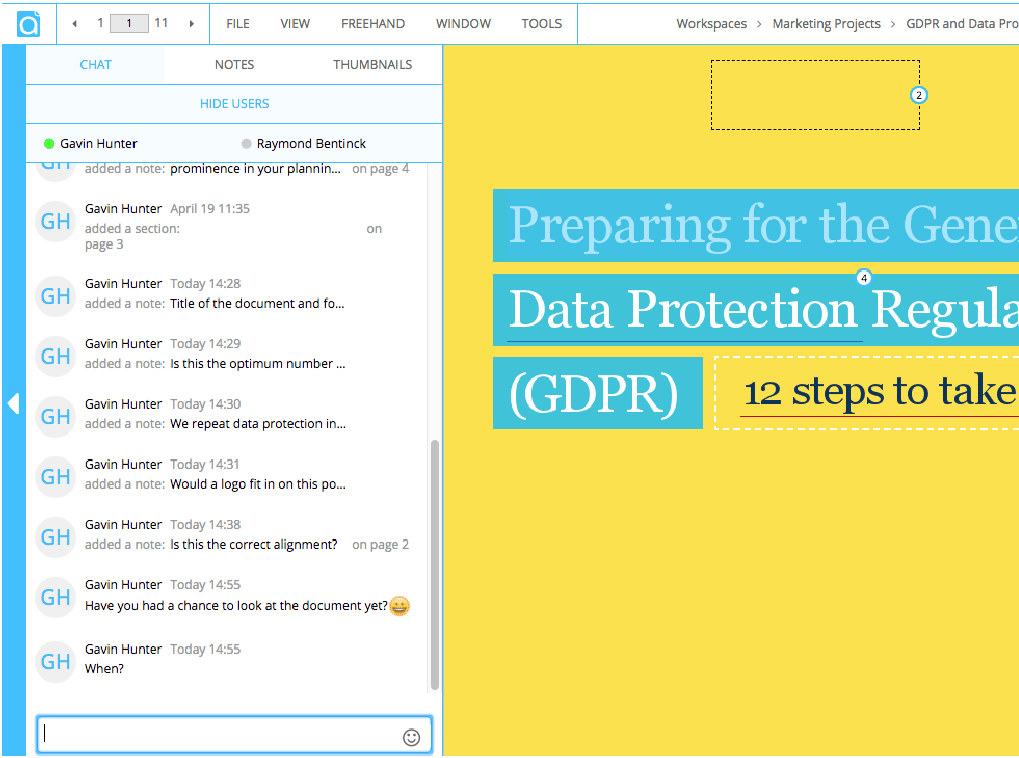
New chat is shown by an orange dot when the pane is closed.
